1. Kubernetes Nodes are the building blocks of a cluster.
2. Control Plane Nodes manage the cluster, Worker Nodes run pods.
3. Components like Kubelet, Kube Proxy, and container runtime ensure node functionality.
4. Node properties and conditions are critical for troubleshooting.
5. Devtron simplifies Kubernetes Node management with visualization and monitoring.
What Are Kubernetes Nodes?
A Kubernetes Node is an individual physical or virtual machine where workloads are scheduled. Multiple nodes combine to form a cluster. Nodes can run on physical hardware or virtual machines from cloud providers like AWS, GCP, or Azure.
As per Kubernetes v1.31, a single cluster can support up to 5,000 nodes.
Types of Kubernetes Nodes
1. Control Plane Node
- Houses core Kubernetes components like the API server, etcd, and controller manager.
- Manages cluster state and orchestrates workloads.
- Multiple control plane nodes ensure High Availability.
2. Worker Node
- Hosts application pods.
- Runs Kubelet to manage pod lifecycle.
- Executes workloads scheduled by the control plane.
Kubernetes Node Components
Kubelet
- Communicates with the control plane to run pods.
- Ensures containers are healthy and running.
- Provides a read-only HTTP endpoint for health and spec information.
Kube Proxy
- Handles networking and load balancing for pods.
- Routes traffic to appropriate service endpoints.
- Operates in iptables or ipvs mode for performance.
Container Runtime
- Executes containers inside pods.
- Common runtimes: containerd, Docker, CRI-O.
- Kubelet uses the Container Runtime Interface (CRI) to communicate with the runtime.
Understanding Node Properties
Node Labels
- Used to identify and categorize nodes.
- Example:
kubectl label node node01 env=test - Helps in pod scheduling using selectors and affinities.
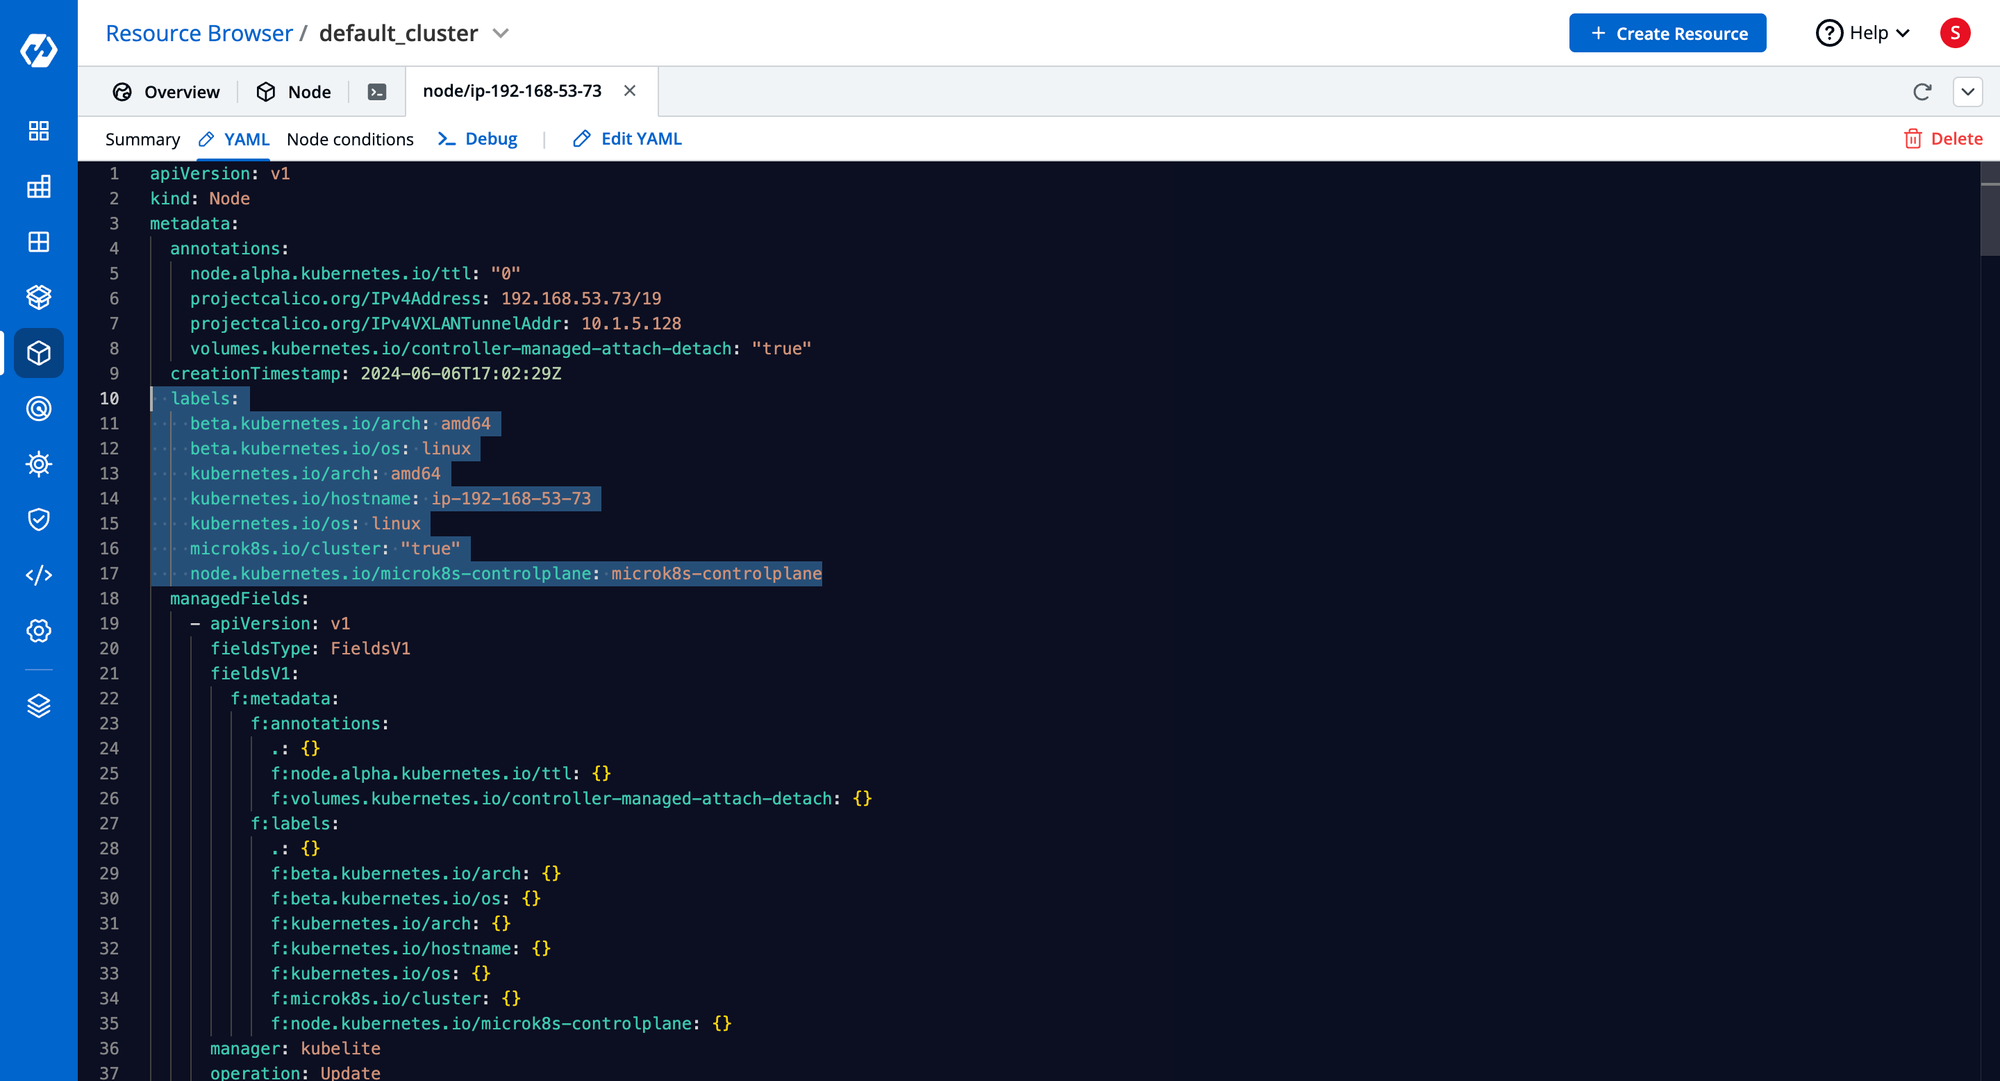
Node Annotations
- Non-identifying metadata for nodes.
- Useful for automation and tooling integrations.
kubectl describe node
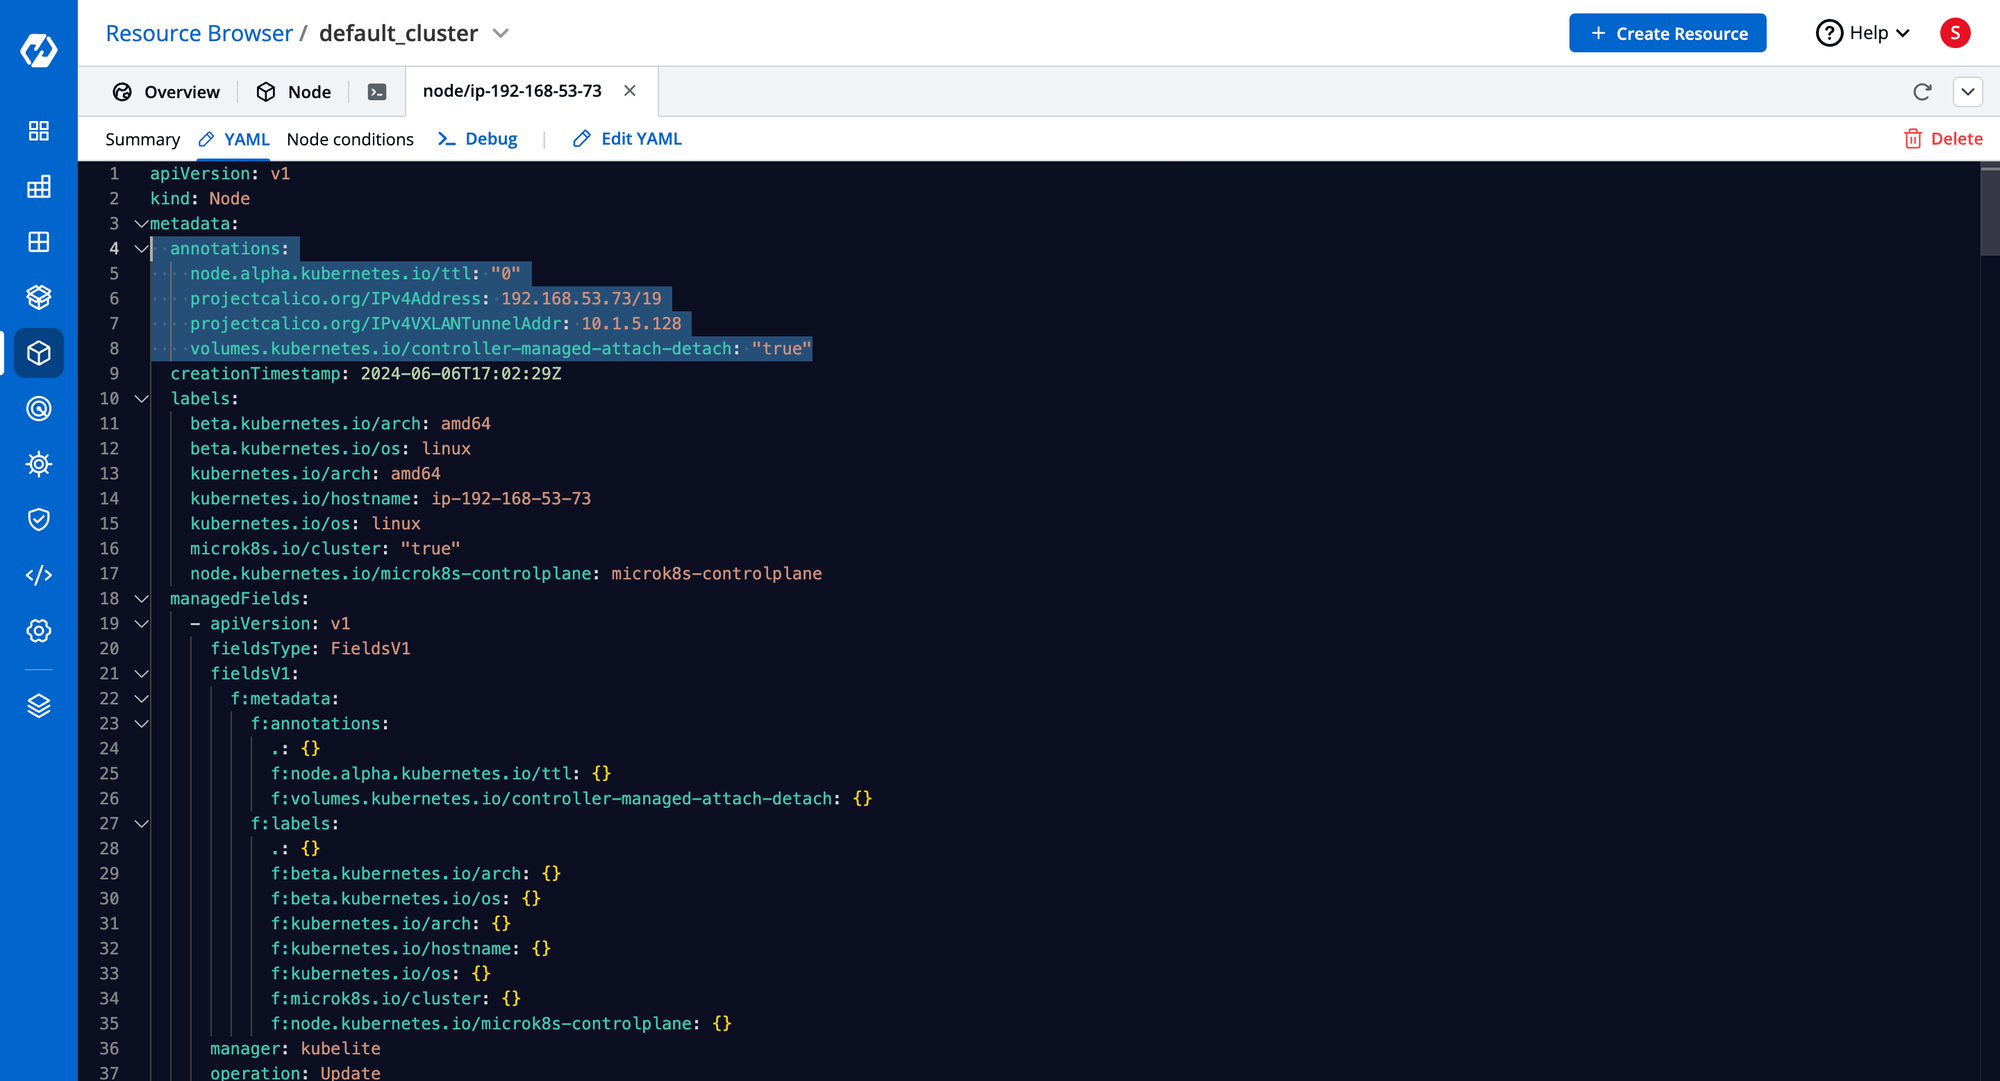
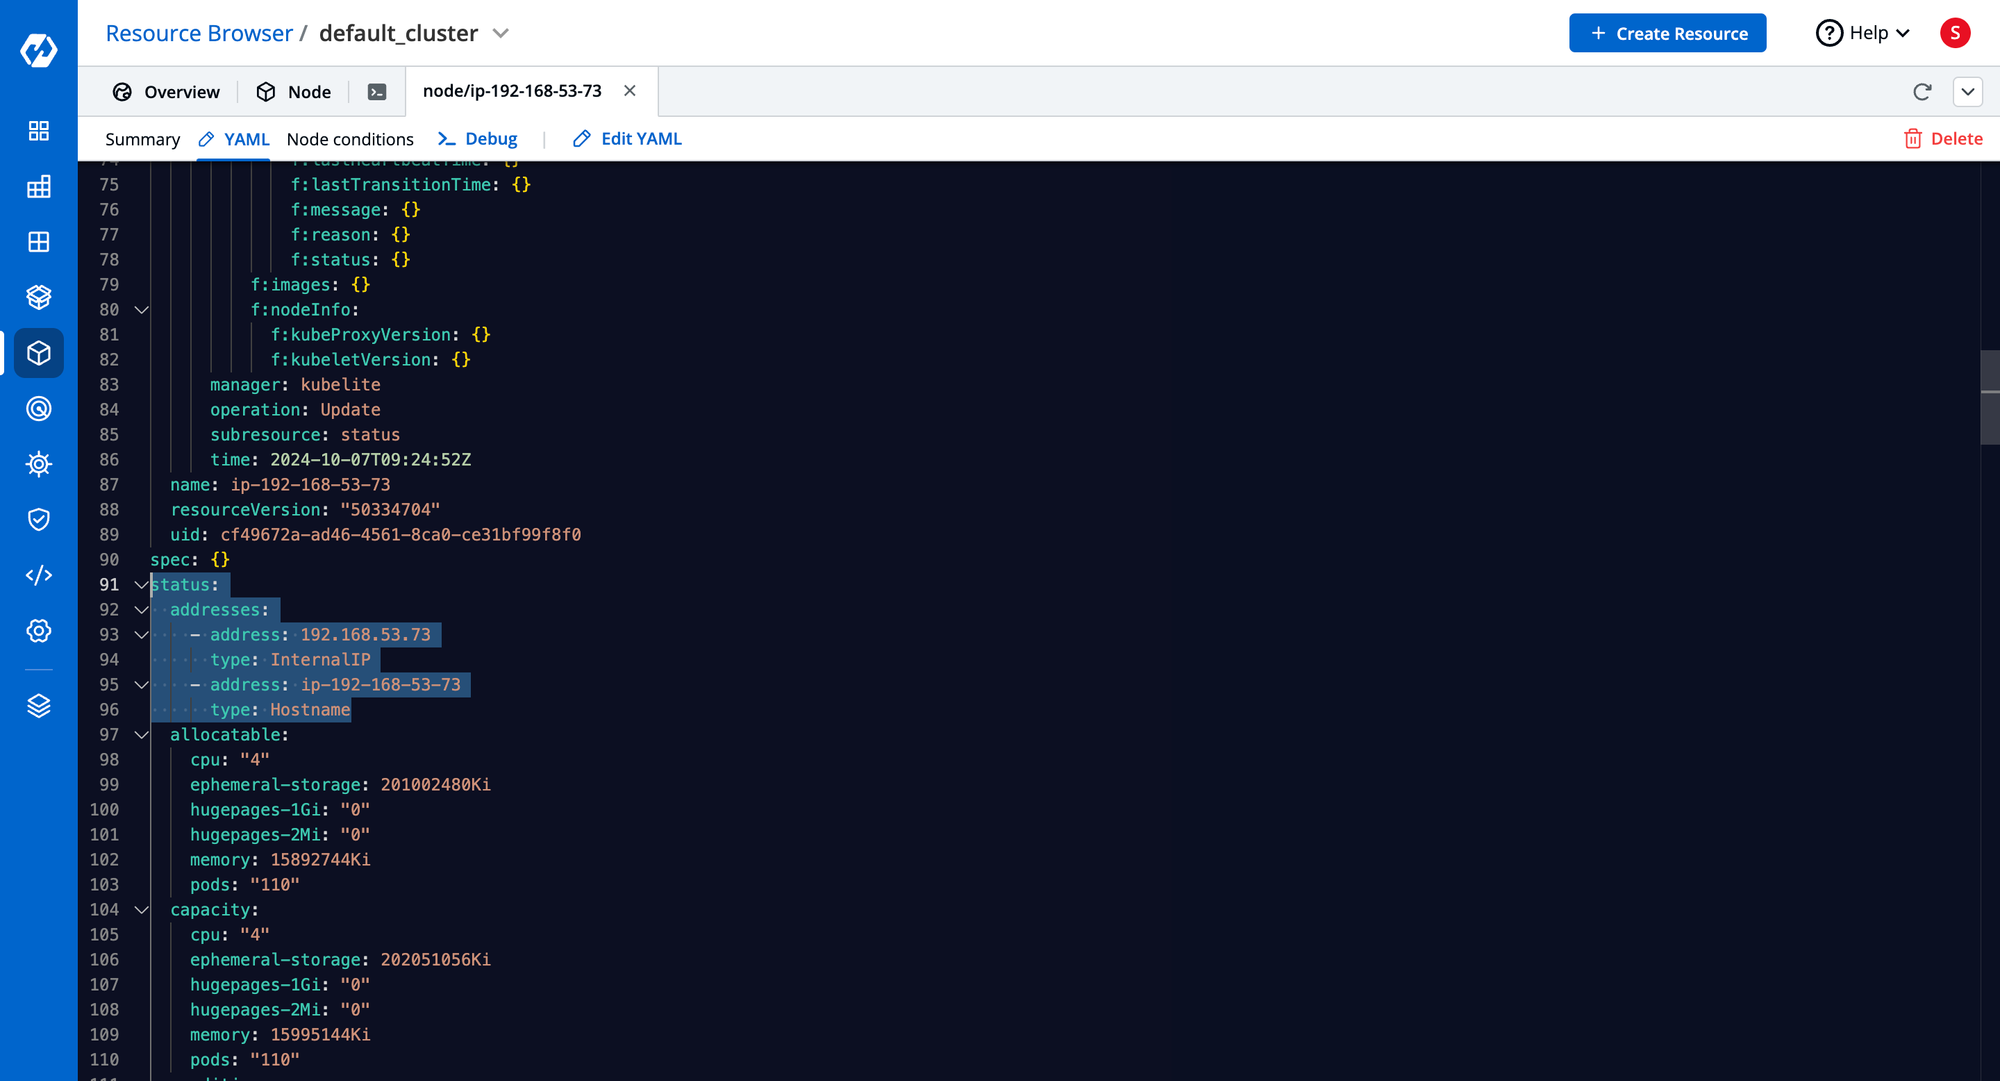
Node Allocation & Capacity
- Shows CPU, memory, storage, and max pods.
- Determines scheduling decisions.
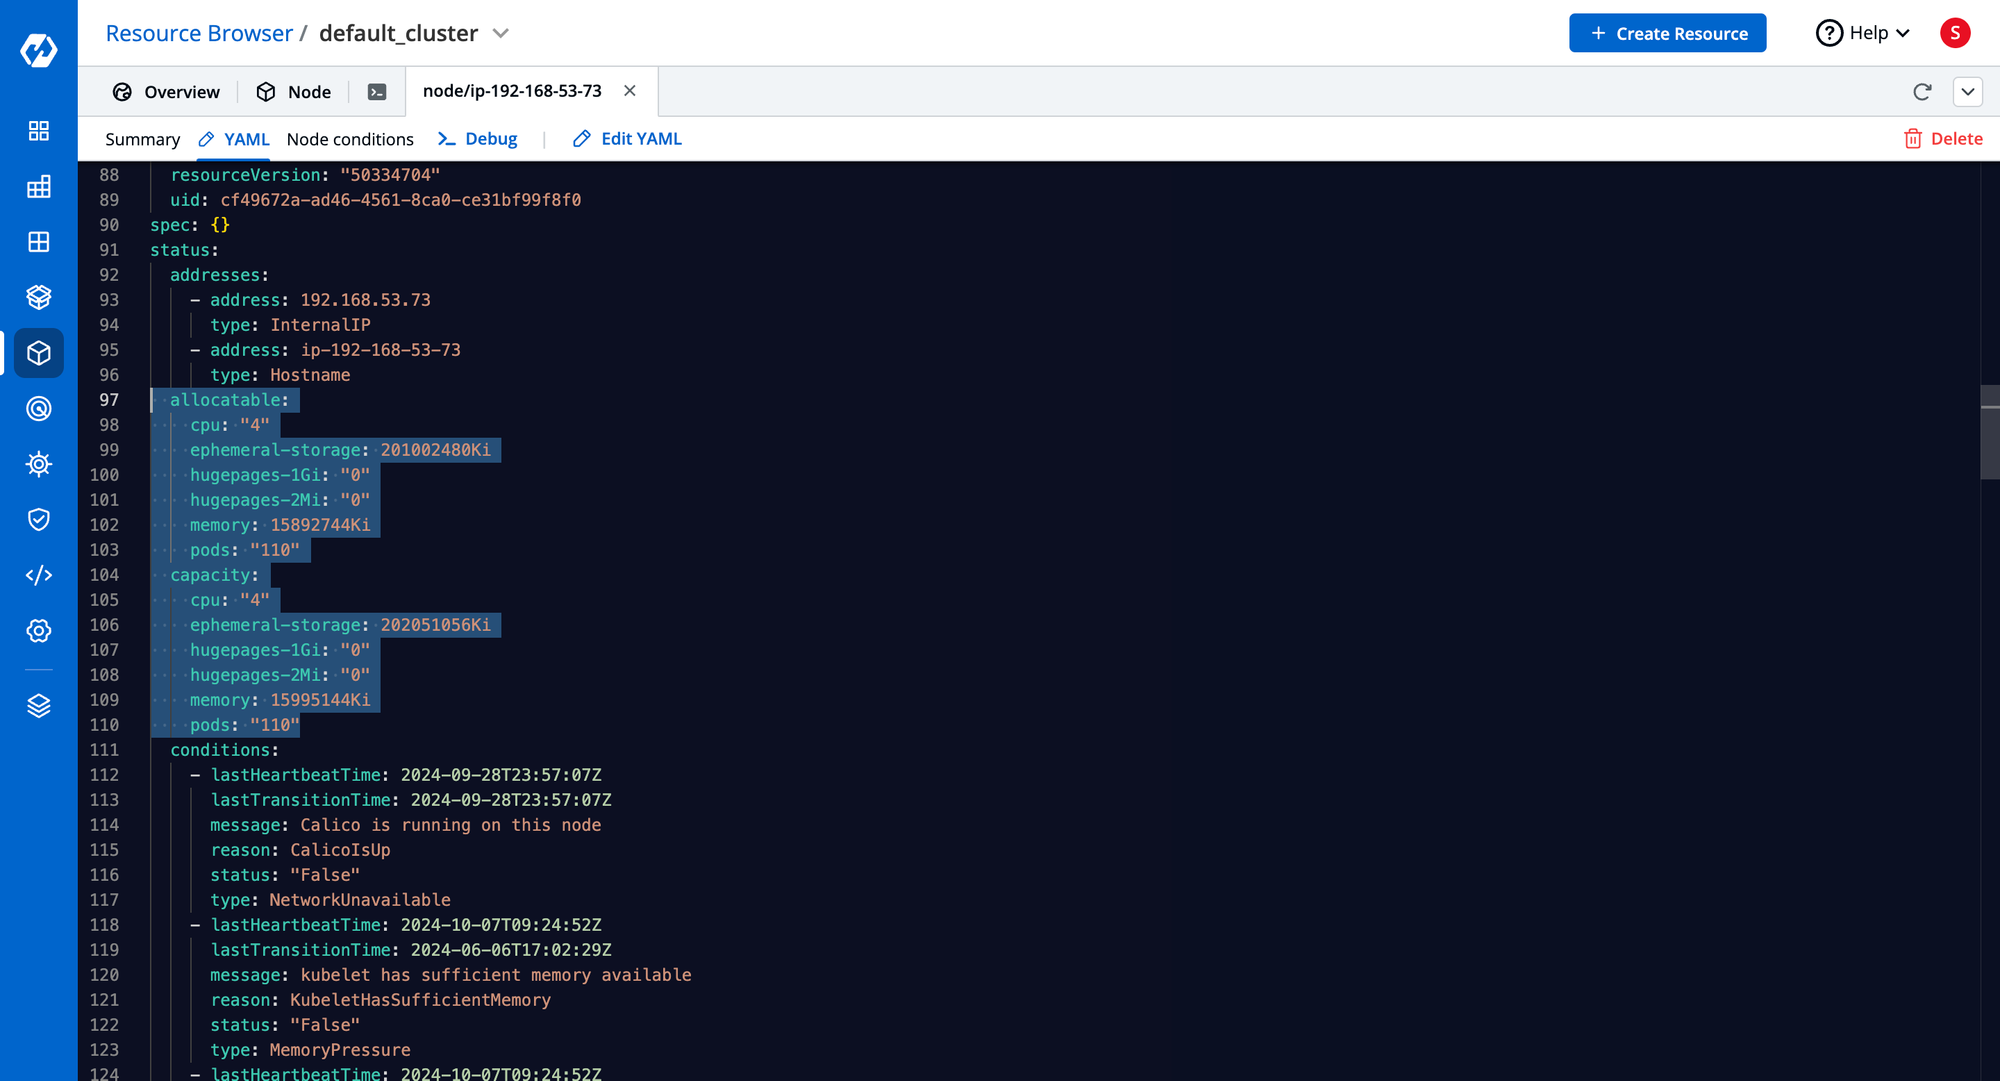
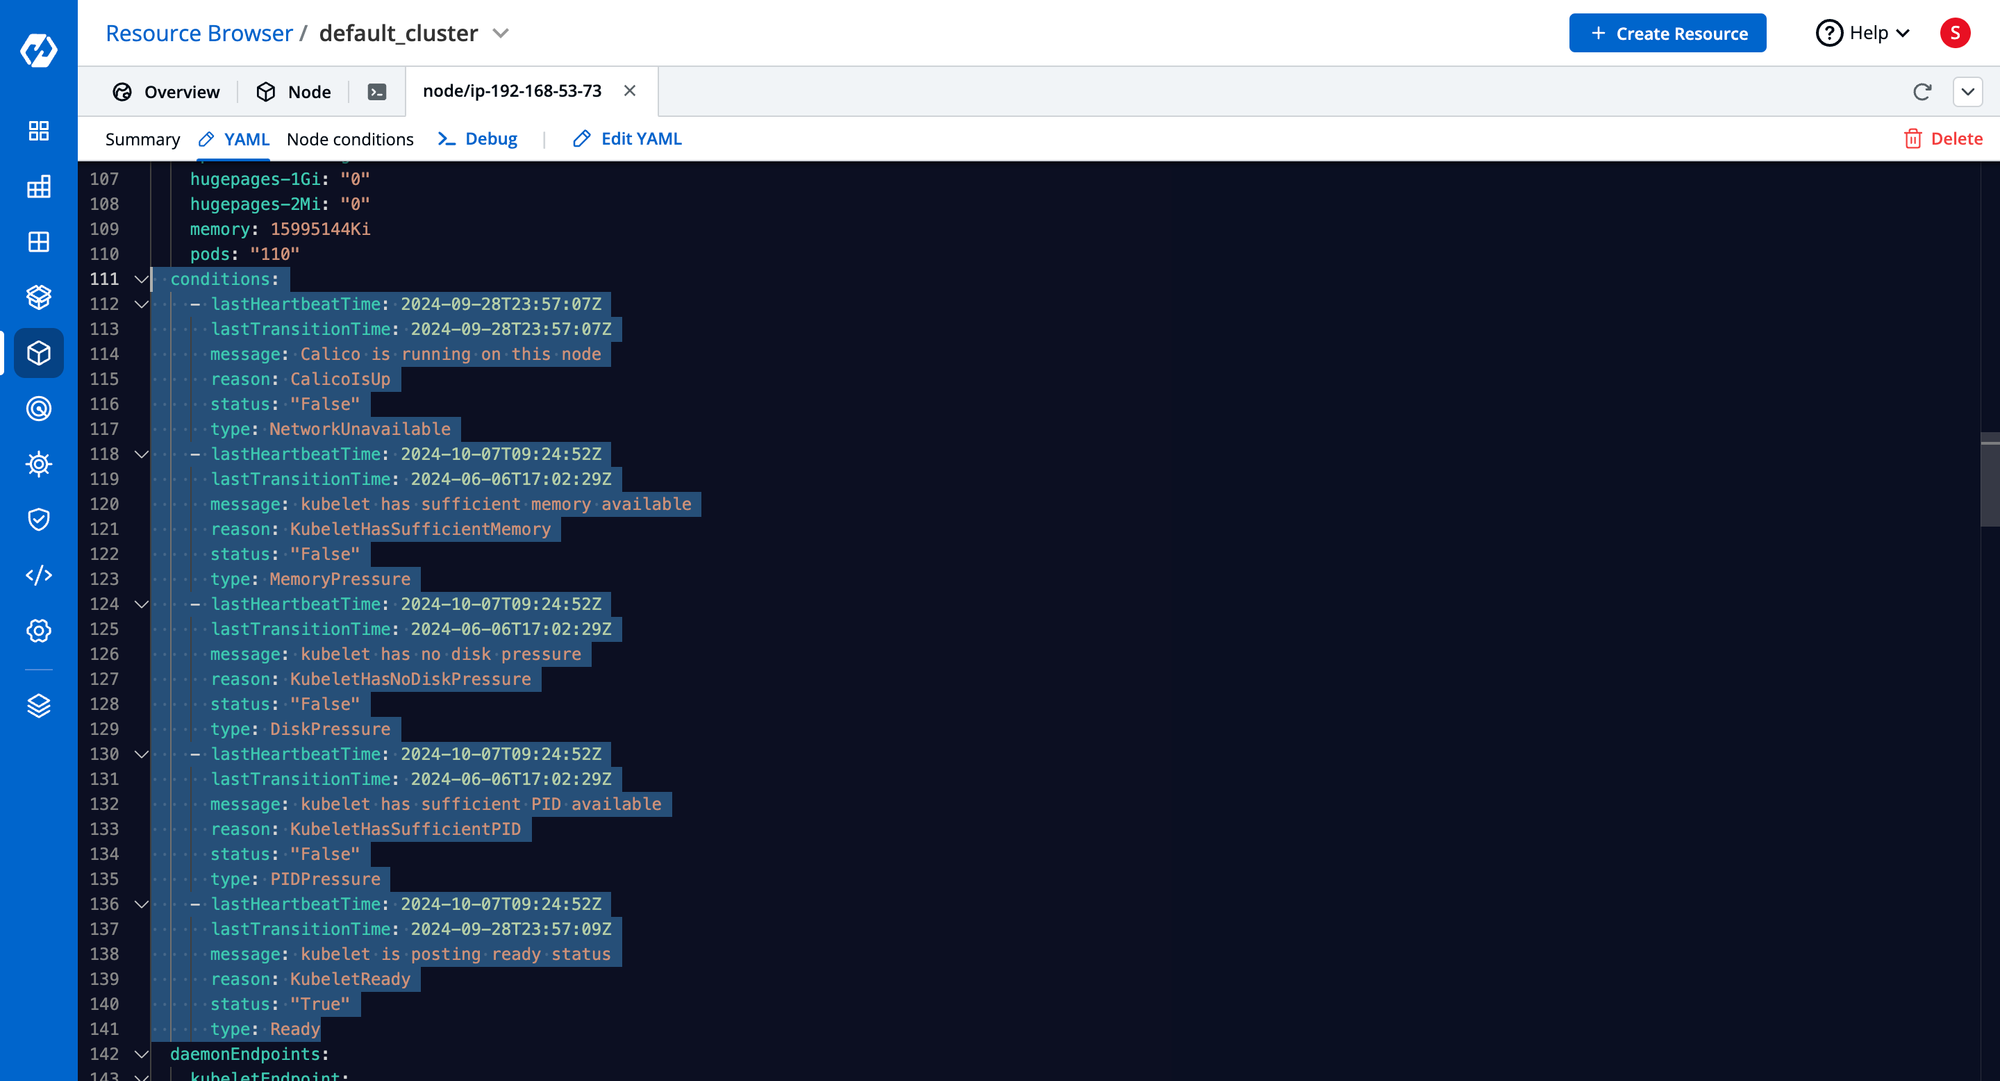
Node Conditions
- Monitors Ready status, Memory Pressure, Disk Pressure, PID Pressure.
- Critical for troubleshooting node health.
Node Info & Status
- Shows hardware details, OS image, runtime versions, and IP addresses.
- Accessible via:
kubectl describe node <node-name>
kubectl get nodes --show-labels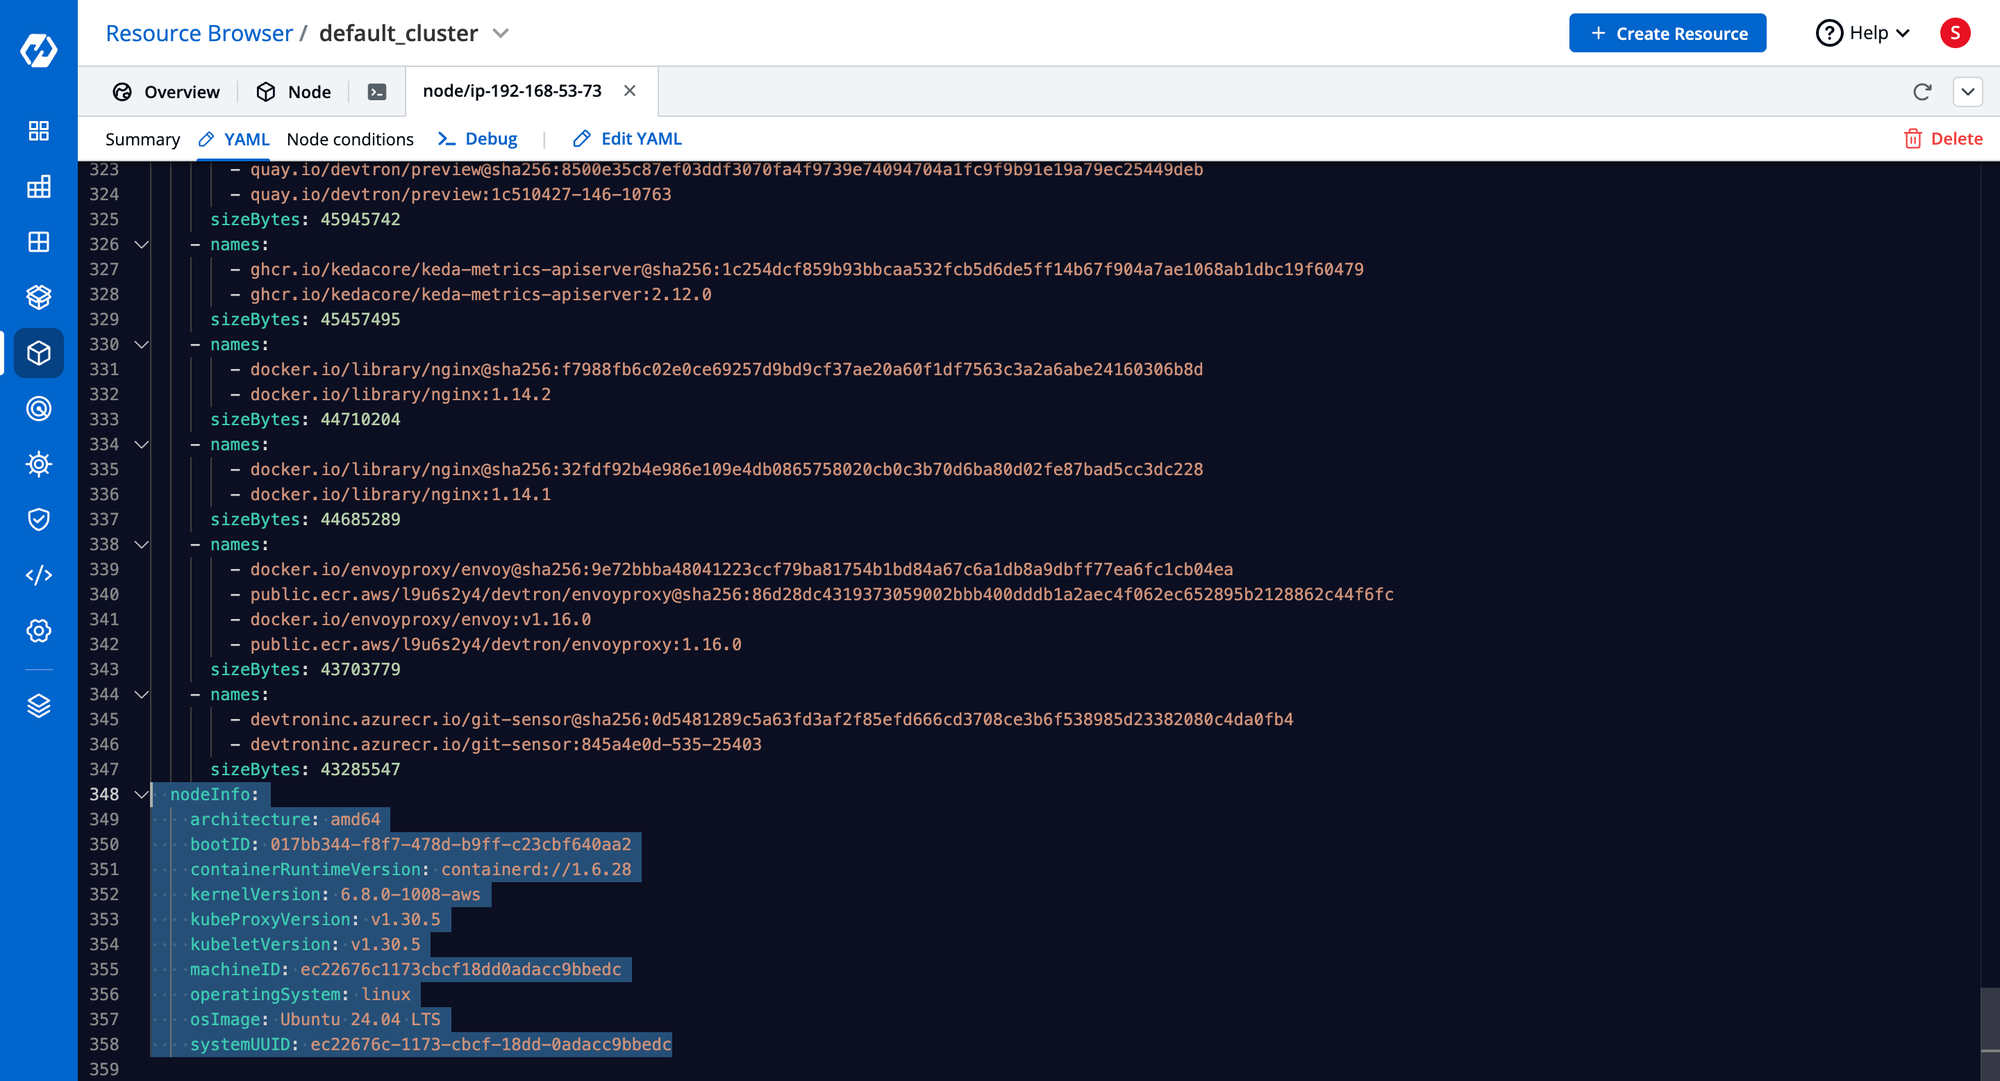
The different Node labels also help with scheduling pods onto the nodes. To learn more about scheduling pods and how labels help in it.
Useful Kubernetes Node Commands
kubectl get nodes– List all nodeskubectl get nodes --show-labels– Show nodes with labelskubectl get nodes -o wide– Detailed node infokubectl describe node <node-name>– Node details and conditionskubectl get node -o yaml– View complete YAML manifestkubectl get pods -o wide– View pod-to-node mappingkubectl label node <node> key=value– Add a labelkubectl taint node <node> key=value:NoSchedule– Taint a node
Kubernetes Node Management with Devtron
Devtron provides an intuitive Kubernetes dashboard to simplify node management:
- Visualize node status, IPs, roles, and versions
- Monitor CPU, memory, and pod utilization
- View labels, annotations, and taints in one place
- Integrated terminal to execute node-level commands without SSH
With Devtron, you can quickly troubleshoot node issues and optimize resource allocation without manually switching between CLI and manifests.

Conclusion
Kubernetes Nodes are an essential part of the Cluster. They can either be physical machines or Virtual Machines that are connected to the Kubernetes cluster. Pods are always placed on certain nodes within the cluster. The two main types of nodes are the Control Plane node, which houses the critical Kubernetes components, and the worker node which houses the various application pods. The Kubelet, Kube Proxy, and container runtime are some of the critical components that are present on every node within the cluster.
FAQ
What Are Kubernetes Nodes and How Do They Function?
Kubernetes Nodes are physical or virtual machines that run workloads (pods) in a Kubernetes cluster. There are Control Plane Nodes (manage the cluster) and Worker Nodes (run application pods), essential for cluster scalability.
What Are the Key Components of a Kubernetes Node?
Key components include Kubelet (manages containers), Kube Proxy (handles networking and load balancing), and Container Runtime (executes containers), all ensuring smooth node operations.
What Are Node Labels and How Are They Used in Kubernetes?
Node labels identify nodes by attributes like OS or purpose, helping with efficient pod scheduling and workload management based on specific labels.
How Does Devtron Simplify Kubernetes Node Management?
Devtron provides a unified dashboard for easy node management, displaying node details, resource usage, labels, and taints. It also offers terminal access for direct command execution, streamlining node operations.