When working with Kubernetes, applications have specific resource requirements that must be satisfied to ensure that they perform smoothly. The application containers run in pods which must be scheduled with specific rules and places on nodes that meet the resource and other criteria. These are important to ensure that the applications running in the pod have sufficient resources, and the correct type of system resources. For example, a pod running an AI application will not run well on a Node that does not have a GPU resource. Similarly, if you want to run applications in production, you do not want those pods to be scheduled on less reliable nodes.
Node Affinity is one of the mechanisms that Kubernetes provides for scheduling pods across the different nodes in the cluster. In this blog, you will learn about Node Affinity, Pod Affinity, and Anti-Affinity, and how to use them in your Kubernetes clusters.
What is Node Affinity?
Node affinity is one of the many mechanisms in Kubernetes that is used for provisioning a pod on a desired node. Node Affinity is an attraction-based scheduling technique. Where a pod will be attracted towards a node that meets certain criteria. As we go further into this blog and explore the hands-on sections, Node Affinity will become more clear to you.
Before diving deeper into Node Affinity, Pod Affinity, and Anti Affinity, it is important to understand about the basic scheduling concepts in Kubernetes. We have already covered Kubernetes scheduling in detail in this blog, but let us take a quick recap of scheduling in Kubernetes, and why is it necessary.
What is Kubernetes Scheduling?
All application containers in Kubernetes run inside tiny wrappers called as pods. These pods require certain system resources such as CPU and memory to run smoothly. The pods obtain these resources from the Kubernetes Nodes. The process of placing a pod on any particular node is called Kubernetes Scheduling.
The process of scheduling pods in Kubernetes is important for several reasons. Some of the reasons why scheduling pods is important include:
- To ensure that the pods get sufficient system resources
- Sensitive workloads such as production applications need to be placed on reliable nodes
- Some workloads may have specific system requirements such as an AMD/ARM architecture or GPU cores in the case of AI workloads
- Prevent developer/testing/QA pods from being placed on a production Node.
Kubernetes has the kube-scheduler component which determines how to schedule the pods. It ranks the nodes based on a number of factors such as the availability of resources, labels, and how well the pod can operate on a node. Please read this blog to get a more in-depth understanding of how the kube-scheduler works and learn about the different scheduling techniques.
Types of Kubernetes Affinity
In Kubenretes, the concept of Affinity can be applied to nodes as well as pods. There are 3 main types of Kubernetes Affinity. They are Node Affinity, Pod Affinity, and Anti-Affinity. Let’s understand all three.
Node Affinity
Node Affinity in Kubernetes defines how pods should be attracted to nodes. It mainly uses labels along with some descriptors to determine how the pod is to be scheduled. If you are familiar with Node Selectors, Node Affinity works in a similar way with the key difference being that Kubernetes Node Affinity is more expressive, and you can better control how the pods are to be scheduled.
There are two main types of Node Affinity. These types are generally defined in the spec.affinity.nodeAffinity section of the YAML manifest:
requiredDuringSchedulingIgnoredDuringExecution- This is a hard scheduling rule meaning that the kube-scheduler will place the pod on a Node only if the criteria are met. If no node is found that satisfies the requirement, the pod stays in a pending state.preferredDuringSchedulingIgnoredDuringExecution- This is a soft scheduling rule meaning that the kube-scheduler will try to find a Node according to the defined specifications. But if such a node is not found, the scheduler will still place the pod on the most suitable node.
Both the above types of Node Affinity have a couple of operators that can be defined. These operators are In, NotIn, Exists, and DoesNotExist. The operators can be used to determine how you wish to use the labels to schedule the pod.
For a single pod, it is a good idea to define both hard and soft scheduling rules. This can make scheduling flexible and provide greater control over different scheduling scenarios that may occur.
Pod Affinity
Pod Affinity is a type of Kubernetes Affinity that is used to attract one pod to another pod. In Node Affinity, we saw that the pods get attracted to Nodes with specific conditions. Similarly, Pod Affinity attracts pods to other pods that meet the defined criteria. Let’s say that you want a pod with a backend application to run close to another pod with a database application so that there is minimal latency. In such scenarios, you would rely on Pod Affinity to set the scheduling rules so that both these pods run close to each other i.e on the same Node.
If the same node does not have enough resources to schedule both pods, one of the pods will be placed on a different node such that there is minimal network latency between the two pods. The Pod Affinity rules are generally defined within the spec:affinity:podAffinity fields in the YAML manifest.
- Similar to Node Affinity, Pod Affinity has both hard and soft scheduling rules
- Pod Affinity has the same operators as Node Affinity rules
- The Kubernetes Scheduler evaluates the criteria defined in the pod’s manifest file and tries to place the pod as close as possible to another pod that meets the Pod Affinity rules.
Anti-Affinity
Kubernetes Anti-Affintiy is the opposite of Kubernetes Affinity in the sense that, Anti-Affinity repels pods from certain resources. Earlier we have seen that we can set Node Affinity and Pod Affinity rules where pods are attracted to Nodes or other Pods based on certain criteria. With Kubernetes Anti-Affinity, the opposite is true. The pods are repelled from other pods.
Anti-affinity can be set for both Nodes as well as pods. The rules for anti-affinity are generally defined within the spec:affinity:podAntiAffinity field of the YAML manifest. You can use the same operators as Pod Affinity and Node Affinity to define the Anti-Affinity rules.
Some of the common use cases for anti-affinity include:
- Prevent resource over-consumption: Certain pods may require plenty of system resources to function smoothly. Anti-affinity can be used to place such pods away from other pods that consume a lot of system resources.
- Spreading pods across nodes: To avoid a single point of failure, you generally want to schedule the same pod on multiple nodes. This prevents the application from going down in case a single node fails.
Kubernetes Affinity vs Taints
Kubernetes Affinity and Kubernetes Taints are both crucial concepts for properly strategically scheduling pods and avoiding any downtime or degraded application performance. It is essential to have a good understanding of both.
- Kubernetes Affinity: Attracts pods to nodes or other pods based on the defined criteria. This provides flexibility as to where the pod is to be scheduled.
- Kubernetes Taints: Prevents scheduling a pod to a specific node unless the pod has the appropriate tolerations. Please refer to this blog to get a complete understanding of Kubernetes Taints and tolerations.
While Affinity attracts pods to nodes, taints are used to repel pods from nodes. Both these techniques can be combined to achieve an advanced scheduling pattern which ultimately ensures great performance and reliability for applications.
Hands-on: Schedule Pods to Nodes Using Node Affinity
Let’s take a look at how you can schedule a pod on a specific node using Node Affinity. The code in this section has been modified from the official Kubernetes documentation.
Prerequisites:
To follow along with this tutorial, you need to have a few prerequisites
- A Kubernetes cluster with 2 or more nodes
- The kubectl utility and ensure that it is connected to the cluster
Add a Label to the Node
In order to use Node Affinity correctly, it is important to assign appropriate labels to the nodes. For this example, we will be using the Node Affinity to schedule the pod to a node that has an SSD. Let’s say that node01 uses an SSD for storing all the data. We can go ahead and add the label disktype=ssd to node01 using the below command
kubectl label nodes node01 disktype=ssdTo verify that the label has been applied, you can run kubectl get nodes --show-labels command and look for the disktype=ssd label in the output
Schedule a Pod using the required node affinity
We have specific criteria that must be met for the pod to be scheduled to the node. The criteria is that the node should have its storage device as an SSD. We will be using Node Affinity to place the pod on a node that has the label disktype=ssd. If there is no Node with this label, the pod will not be scheduled.
The below YAML manifest can be used to schedule a nginx pod with the appropriate Node Affinity rules:
apiVersion: v1
kind: Pod
metadata:
  name: nginx
spec:
  containers:
  - name: nginx
    image: nginx:image
    imagePullPolicy: IfNotPresent
  affinity:
    nodeAffinity:
      requiredDuringSchedulingIgnoredDuringExecution:
        nodeSelectorTerms:
        - matchExpressions:
          - key: disktype
            operator: In
            values:
            - ssd
Let’s break the above YAML manifest down and understand what’s happening in it.
- A container named nginx will be created, and the container will use the
nginx:latestimage - Under affinity rules, a Node Affinity is defined.
- This Node Affinity rule uses the
requiredDuringSchedulingIgnoredDuringExecutionwhich is a hard affinity rule. - The Node Affinity is configured such that the pod will be scheduled only if the label
disktype=ssdis found on any particular node.
You can save the above configuration in a YAML file called as hard-affinity.yaml, and use the below command to create a pod that will follow the Node Affinity rules.
kubectl apply -f hard-affinity.yamlOnce the pod is created, you can use the below command to ensure that the pod is scheduled on the correct node.
kubectl get pods -owideThe above command will show the pod’s information such as it’s name, IP address, and status along with the node where it is placed. If the status is pending, the pod has not been scheduled and a suitable node cannot be found.
Schedule a Pod using the preferred node affinity
Let’s say you want to schedule a pod to a preferred node. But even if the preferred requirements are not found, you still want the pod to be scheduled. For this scenario, we can make use of the soft Node Affinity rules. Let us use the same node with the label disktype=ssd as an example.
We want to schedule a busybox pod, and we would prefer it if it runs on the node with an SSD storage device. However, if such a node is not available the pod can still get scheduled on a different node without an SSD. We can use the below YAML manifest to create such a pod.
apiVersion: v1
kind: Pod
metadata:
  name: nginx
spec:
  containers:
  - name: busybox
    image: busybox:latest
    imagePullPolicy: IfNotPresent
  affinity:
    nodeAffinity:
      preferredDuringSchedulingIgnoredDuringExecution:
      - weight: 1
        preference:
          matchExpressions:
          - key: disktype
            operator: In
            values:
            - ssd
Once again, before applying this manifest, let’s break it down and see what’s happening.
- A container named busybox is created which uses the image
busybox:latest - Node Affinity rules are being set using the
preferredDuringSchedulingIgnoredDuringExecutionwhich is a soft scheduling rule. - The Node Affinity rule is configured such that it is preferred to place the pod on a node that has the label
disktype=ssd. But if such a node is not found, it is still fine to place the pod on other nodes.
You can save the above YAML manifest in a file called soft-affinity.yaml and use the below command to create the pod with the Node Affinity rules.
kubectl apply -f soft-affinity.yamlTo check which node has the pod been placed on, you can use the below command to get detailed information about the pod.
kubectl get pods -owideNode Affinity with Devtron
Devtron is an open-source Kubernetes Management platform that helps abstract out a lot of the complexities with Kubernetes. It helps you create end-to-end CI/CD pipelines combined with security scanning, advanced deployment patterns, scheduling rules, managing applications across multiple clusters and environments, managing RBAC, and much more.
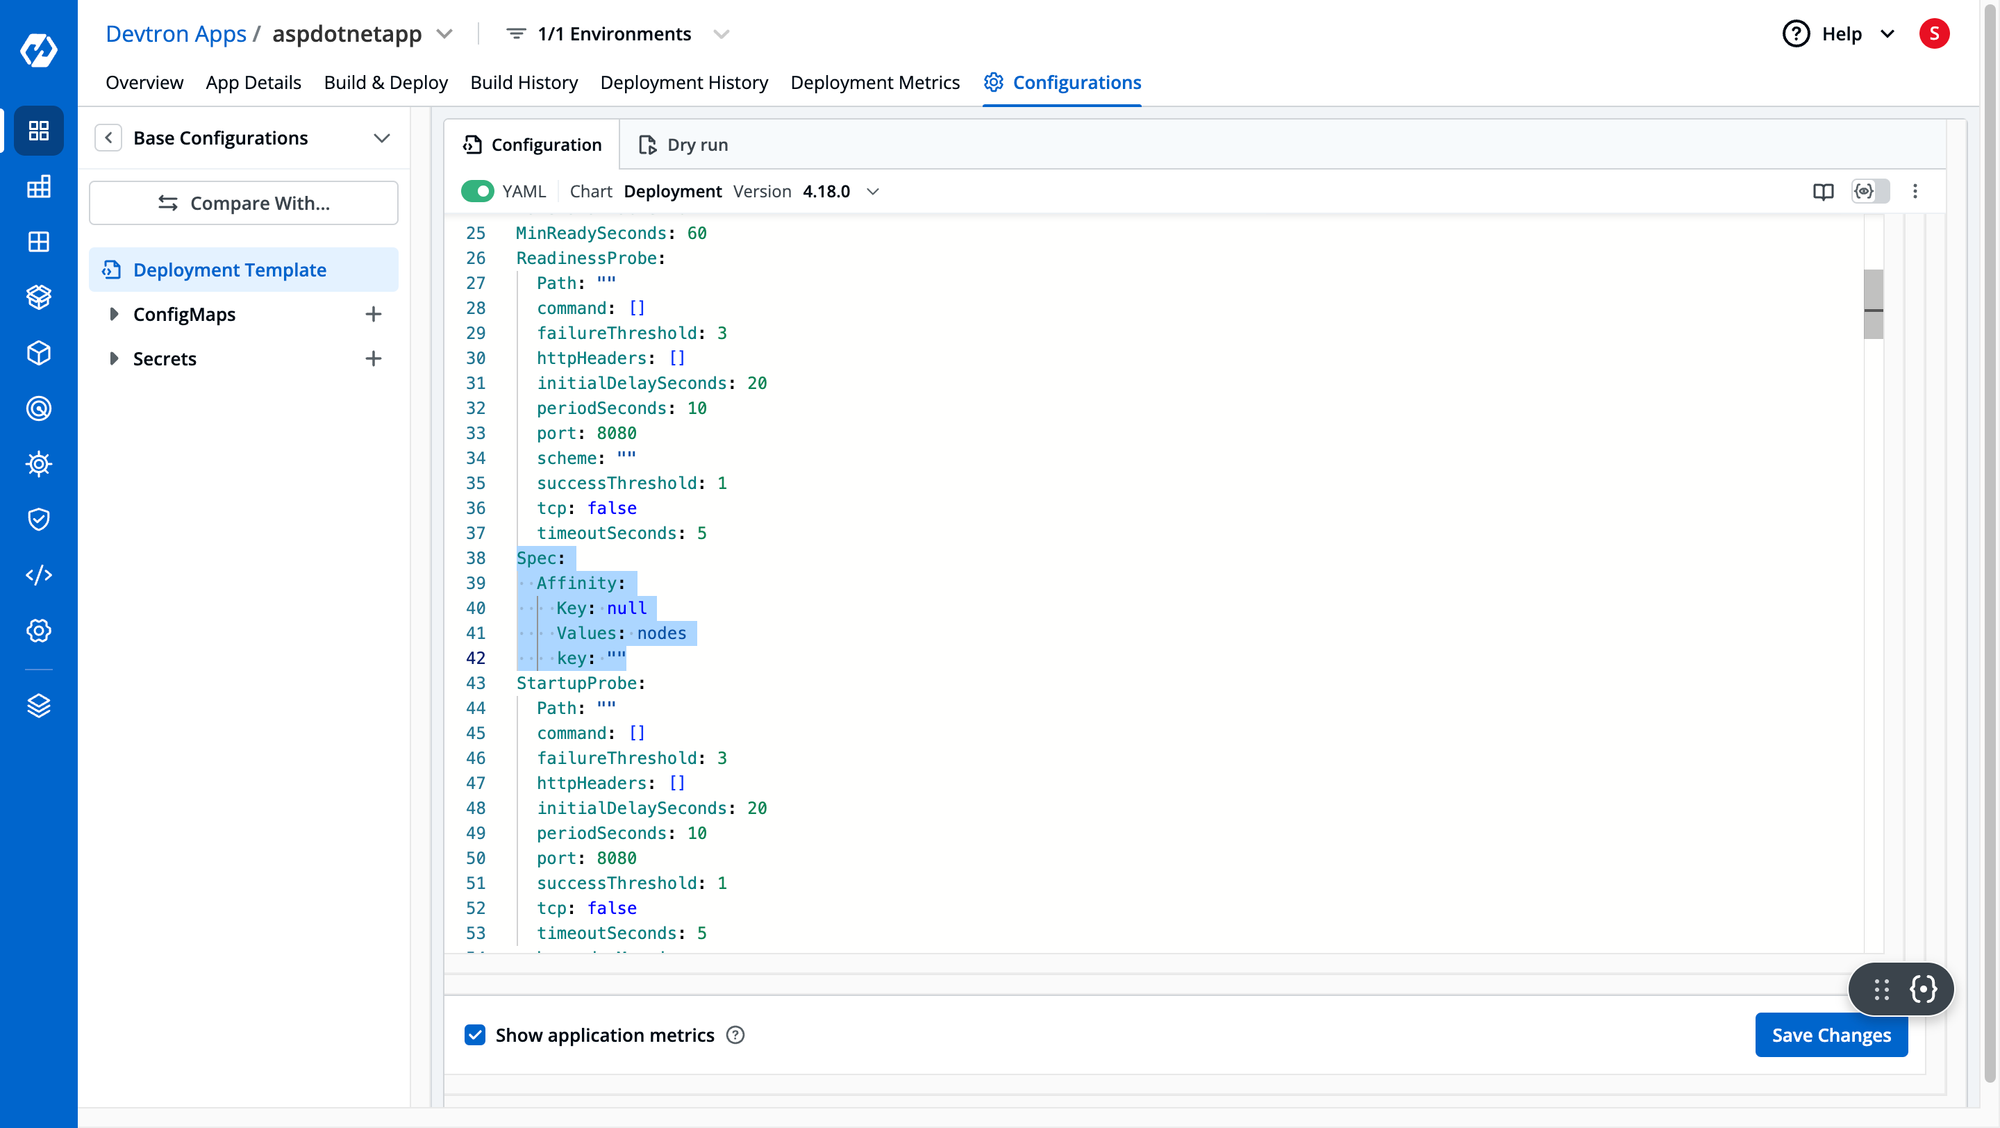
While deploying your applications with Devtron, you are provided with a YAML template which makes it very easy to properly configure your applications without having to worry about syntax errors or misconfigurations. Devtron provides a template for defining the Node Affinity and Pod Affinity rules. All you have to do is plug in the values and the pods will be scheduled appropriately.

Devtron also comes with its signature resource browser, which provides insights into all the Kubernetes resources such as pods, deployments, configmaps, services, and more. The resource browser is very helpful for viewing the labels, taints, annotations, resource utilization, and more for all your Kubernetes nodes. This resource browser lets you easily view and create the labels required for the proper scheduling of workloads.

If you are looking for a complete solution for managing your Kubernetes workloads across multiple clusters and getting visibility into all your applications with a seamless developer experience, please give Devtron a try. Please visit our documentation to learn how to get started.
Conclusion
Scheduling workloads in Kubernetes is one of the crucial aspects to consider when deploying applications. Proper scheduling can help efficiently use Node resources to ensure that applications can run smoothly. It can also help reduce downtime by distributing pods across various nodes to avoid single points of failure.
Kubernetes Affinity is one of the advanced scheduling techniques that is used to attract pods to nodes as well as other pods. The constraints for attraction are defined using node labels, and it can be configured to use soft or hard scheduling rules. With hard scheduling rules, the pod will be placed on the node only if all the requirements are met, whereas soft rules will schedule the pod anyway.


