1. Learn how Taints and Tolerations control pod scheduling in Kubernetes, ensuring that workloads only run on appropriate nodes for better stability and resource management.
2. Understand the three taint effects—NoSchedule, PreferNoSchedule, and NoExecute—and how they impact pod placement and eviction.
3. Get step-by-step guidance on adding taints to nodes and tolerations to pods, including practical YAML examples and commands.
4. Discover how Devtron simplifies toleration management by allowing you to configure them directly in deployment templates for automated scheduling.
5. Explore the difference between Taints/Tolerations and Node Affinity, and learn how combining them provides fine-grained control for exclusive node usage and workload isolation.
What are Taints and Tolerations?
Taints and tolerations are a powerful feature for controlling pod scheduling. They work together to ensure that pods are not scheduled onto inappropriate nodes.
- Taints are properties of nodes that repel a set of pods. You can think of a taint as a "lock" placed on a node.
- Tolerations are applied to pods and allow them to be scheduled on nodes with matching taints. A toleration acts as the "key" to the lock.
When a node is tainted, no pod can be scheduled on it unless it has a matching toleration. It's the node's way of saying, "I don't want this type of pod." It's not about the node preferring certain pods, but rather repelling those that are not explicitly allowed.
A taint is defined by a key, a value, and an effect:
key=value:effect
The effect specifies what happens to pods that do not tolerate the taint. There are three possible effects:
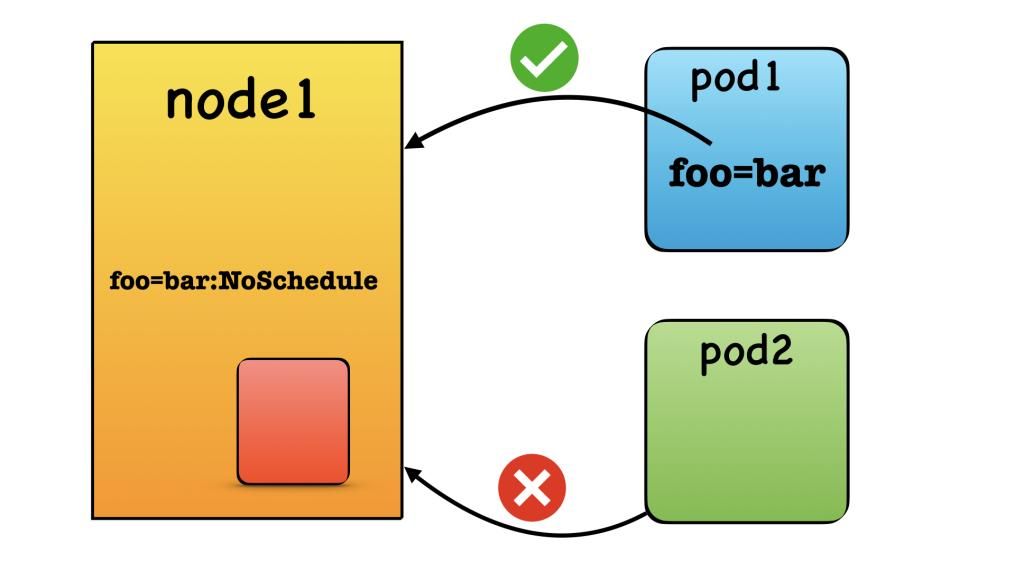
- NoSchedule: Pods that do not tolerate the taint will not be scheduled on the node.
- PreferNoSchedule: This is a "soft" version of NoSchedule. The scheduler will try to avoid placing a pod that doesn't tolerate the taint on the node, but it's not a strict requirement.
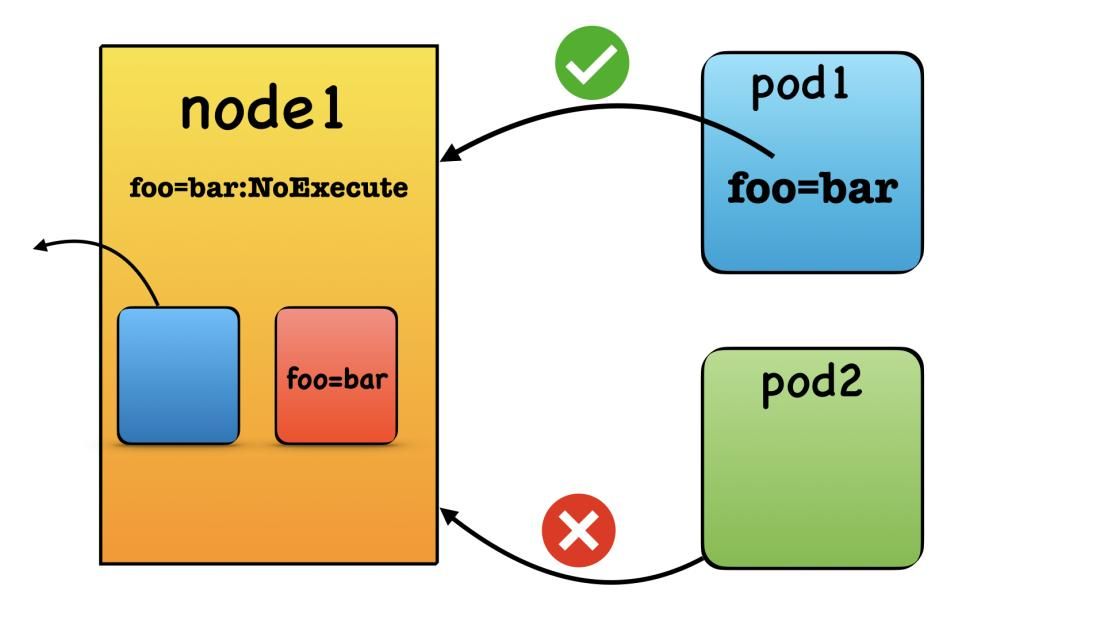
- NoExecute: This is the most aggressive effect. Any pods already running on the node that do not tolerate the taint will be evicted, and new pods without the toleration will not be scheduled.
The Node Controller and Automatic Taints
The Kubernetes Controller Manager includes a Node Controller that manages the state of nodes. This controller can automatically add taints to nodes under certain conditions. For example:
- node.kubernetes.io/not-ready: The node is not ready to accept pods.
- node.kubernetes.io/unreachable: The node is unreachable from the node controller.
- node.kubernetes.io/memory-pressure: The node is running low on memory.
- node.kubernetes.io/disk-pressure: The node is running low on disk space.
These automatic taints are crucial for the stability of the cluster, as they prevent pods from being scheduled on nodes that are experiencing problems.
Scheduling a Pod with Taints and Tolerations
Here’s a step-by-step guide to using taints and tolerations to schedule your pods:
1. Add a Taint to a Node
While the Node Controller can add taints automatically, you can also add them manually. This is useful for dedicating nodes to specific purposes. For instance, you might have nodes with powerful GPUs that you want to reserve for machine learning workloads.
To add a taint to a node, use the following kubectl command:
kubectl taint nodes <node-name> key=value:NoScheduleTo remove the taint, you can append a minus sign to the command:
kubectl taint nodes <node-name> key=value:NoSchedule-As an example, let's say that you wanted to taint a node named Anurag with the key-value pair of foo=bar. And you wish to set the effect as PreferNoSchedule. You can use the below command to add this taint to the node.
kubectl taint nodes anurag foo=bar:PreferNoSchedule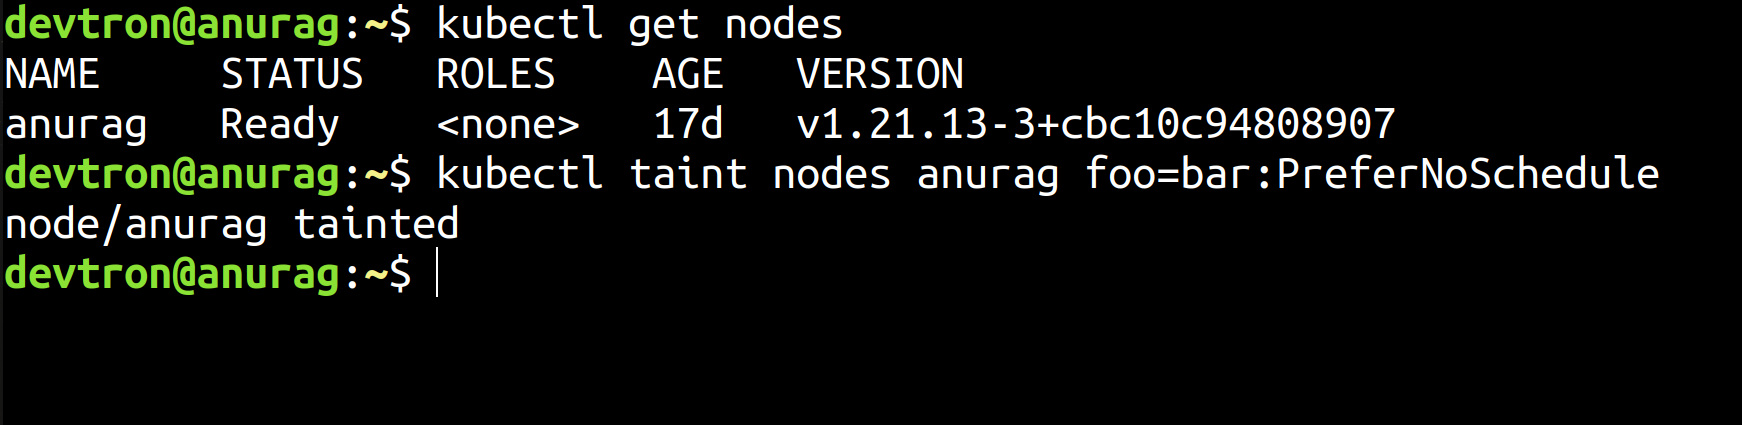
This Taint will ensure that no pods will be scheduled for the anurag node. However, since we are using the PreferNoSchedule rule, which is a soft role, the Kubernetes Scheduler will try to find a different node to schedule the pod to. But if a different node does not exist, the scheduler may place the pod on the anurag node.
On the other hand, if we set a hard rule, i.e. NoSchedule The pod would stay in the pending state if no other node was available.
2. Add a toleration to the Pod
To schedule a pod on a tainted node, you must add a matching toleration to the pod's specification. This toleration acts as the "key" that allows the pod to be accepted by the node's "lock" (the taint). You define this configuration directly within the pod.spec.tolerations section of your pod manifest.For instance, the following YAML manifest demonstrates how to schedule an Nginx pod on a node we previously tainted. Notice the tolerations block that matches the taint's key, value, and effect.
apiVersion: v1
kind: Pod
metadata:
  name: nginx-pod
spec:
  containers:
  - name: nginx-container
    image: nginx
  tolerations:
  - key: "foo"
    operator: "Equal"
    value: “bar”
    effect: "PreferNoSchedule"
The above toleration will ensure that the pod will be scheduled to a node which has the taint foo=bar:PreferNoSchedule.
Tolerations with Devtron
Devtron simplifies the process of adding tolerations to your pods through its deployment templates.
- Navigate to your application in Devtron and go to App Configuration > Deployment Template.
- In the deployment template, search for tolerations and add the required configuration.
- Save the template and redeploy your application. The new tolerations will be applied to your pods.
In the deployment template, search for tolerations and add them there.
I have one demo application running in the background, and I will add tolerations to that.

And after saving this deployment template, I will run the deployment pipeline once again for changes to take place.
After running, you will see the status of all your resources. All the resources are healthy now.
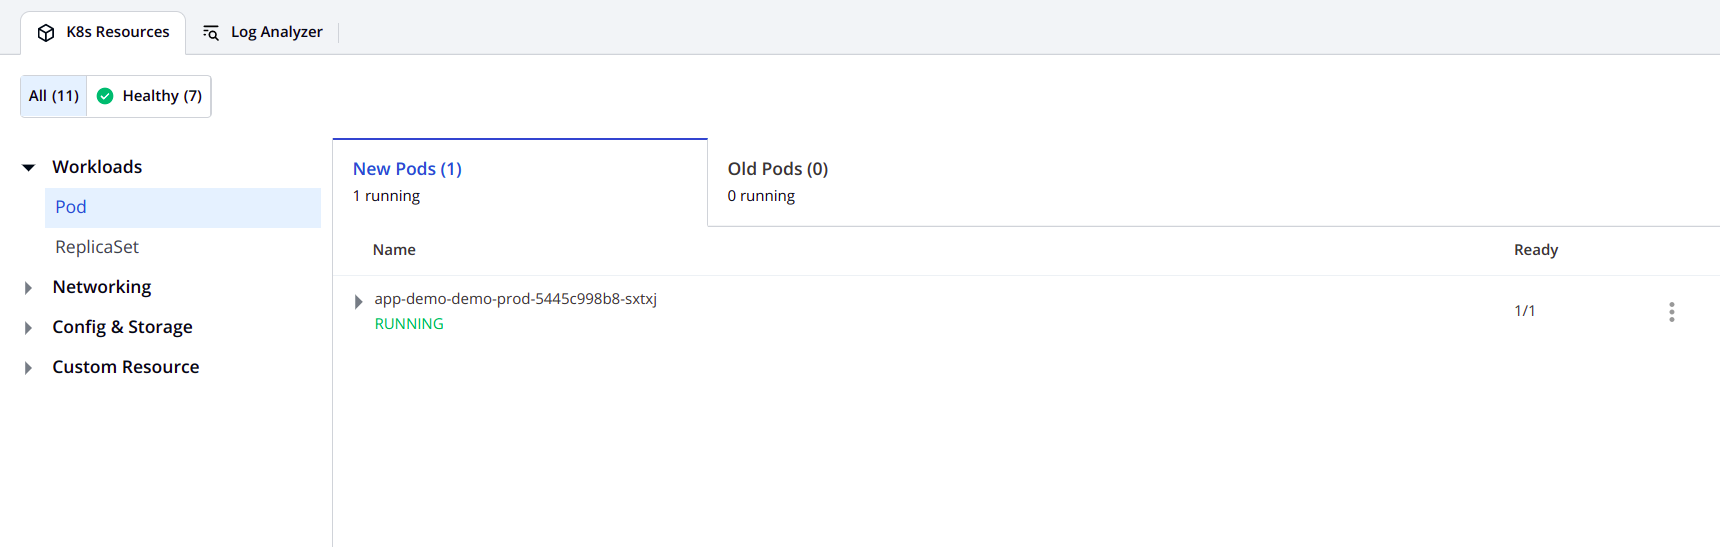
Now, let’s check whether the taints were applied during the new deployment or not. For that, hover over the pod, and you will see that tolerations were applied to the pods.

Taints and Tolerations vs. Node Affinity
It's important to understand the difference between taints/tolerations and Node Affinity.
- Taints and Tolerations are about repelling pods from nodes. They are a mechanism for a node to reject certain pods.
- Node Affinity is about attracting pods to a set of nodes. It's a property of a pod that expresses a preference or requirement for certain nodes.
While taints and tolerations can prevent pods from being scheduled on a node, they don't guarantee that a pod will be scheduled on a specific tainted node. The pod could still be scheduled on any other node that doesn't have a repelling taint.
For exclusive node usage, the best practice is to combine taints and tolerations with node affinity. You would taint the dedicated nodes to repel all pods without the correct toleration, and then use node affinity to ensure that your desired pods are only scheduled on those specific nodes.
Conclusion
Taints and tolerations are a fundamental and flexible tool for advanced scheduling in Kubernetes. They provide the necessary controls to restrict workloads to specific nodes, which is essential for managing resources effectively, isolating workloads, and ensuring the stability of your cluster. By understanding and utilizing taints and tolerations, you can gain a much finer-grained control over your Kubernetes scheduling strategies.
FAQ
What are Taints and Tolerations in Kubernetes?
Taints are applied to nodes to prevent certain pods from being scheduled on them. Tolerations are added to pods to allow them to be scheduled on tainted nodes. They are used for advanced scheduling to isolate and control workloads
How do Taints work in Kubernetes?
Taints have the format key=value:effect. The possible effects are NoSchedule (blocks non-tolerating pods), PreferNoSchedule (avoids scheduling if possible), and NoExecute (evicts non-tolerating pods). You can apply taints using the kubectl taint command.
When should you use Taints and Tolerations?
You should use them to:
- Isolate production workloads from development or testing environments.
- Dedicate nodes with special hardware (like GPUs) to specific applications.
- Prevent pods from being scheduled on nodes with memory or disk pressure.
- Gain more control over pod placement in your cluster.
How do you add Tolerations in Devtron?
- Go to your application's App Configuration > Deployment Template.
- Add the toleration configuration to the template.
- Save the template and redeploy your application.
- You can verify that the tolerations have been applied in the Devtron UI.