When it comes to GitOps, ArgoCD is the most popular method right now. There are several other options available, but from a usability and implementation perspective, ArgoCD is definitely the victor.
Although it’s incredibly powerful, there’s a big question - how easy is it to install and configure?
In this blog post, you’ll see the full installation workflow and the comparison with a Platform Engineering tool like Devtron.
What is ArgoCD
GitOps has one purpose - to confirm that the current state is the desired state. If a Kubernetes Deployment Manifest states that it has three replicas/pods running, then that’s the desired state. A GitOps Controller ensures that what’s in the Kubernetes manifest exists in the environment.
There are a few different tools that can help with this, and one of those tools is ArgoCD.
ArgoCD is an open-source, enterprise-ready (and startup-ready) GitOps solution. It’s a controller that runs in your Kubernetes environment and receives what the environment should look like from a source control repository.
If you’d like to read more, we covered GitOps in full in this blog post.
ArgoCD Installation and Configuration
When it comes to installing and configuring ArgoCD, there are a few steps.
First, there’s the installation. The installation consists of a Kubernetes manifest that installs the controller and CRDs. You can use a high-availability manifest or a standalone manifest. Next, there’s the configuration of ArgoCD as a whole once it’s up and running. Lastly, there’s the application deployment.
Let’s take a look at the steps below.
Installation
The first part of the installation will be to install the command-line interface. The CLI allows you to manage, deploy, and log into ArgoCD.
You can find the CLI installation here:
https://argo-cd.readthedocs.io/en/stable/cli_installation/
After the CLI is installed, you can run the Kubernetes manifest below to deploy ArgoCD in your Kubernetes environment.
kubectl apply -f https://raw.githubusercontent.com/argoproj/argo-cd/v2.4.3/manifests/ha/install.yaml
Once it’s deployed, you should see the resources up and running in the default Namespace.
argocd-application-controller-0                    0/1     ContainerCreating   0          19s
argocd-applicationset-controller-fcbc9dcc5-4fp48   0/1     ContainerCreating   0          19s
argocd-dex-server-5f7dcd5878-hvb5c                 0/1     Init:0/1            0          19s
argocd-notifications-controller-bd8798c5b-sj944    0/1     ContainerCreating   0          19s
argocd-redis-ha-haproxy-6bb44b465d-lgdl4           1/1     Running             0          19s
argocd-redis-ha-haproxy-6bb44b465d-nf5t8           0/1     Init:0/1            0          19s
argocd-redis-ha-haproxy-6bb44b465d-ptc5t           0/1     Init:0/1            0          19s
argocd-redis-ha-server-0                           0/2     Init:0/1            0          19s
argocd-repo-server-68fc44bfb7-27bfd                0/1     Init:0/1            0          19s
argocd-repo-server-68fc44bfb7-pl9sp                0/1     Init:0/1            0          19s
argocd-server-868dd65f45-kn6s7                     0/1     ContainerCreating   0          19s
argocd-server-868dd65f45-t8929                     0/1     ContainerCreating   0          19s
Once ArgoCD is deployed, you would like to retrieve the ArgoCD password to log in via the CLI and the GUI. It’s stored as a Kubernetes Secret.
kubectl get secret argocd-initial-admin-secret -o jsonpath="{.data.password}" | base64 -d
You can now log into the GUI and the CLI, but first, you’ll need to expose the service as it doesn’t come out of the box with a LoadBalancer configuration.
kubectl port-forward service/argocd-server 56067:80
Configuration
Now that the installation is complete, you can log in two different ways:
- Through the CLI
- Through the GUI
To log in via the CLI, run the command: argocd login 127.0.0.1:56067
You’ll be prompted for a username and password. The default username is admin. For the password, enter the password that you received from the Kubernetes Secret in the previous section.
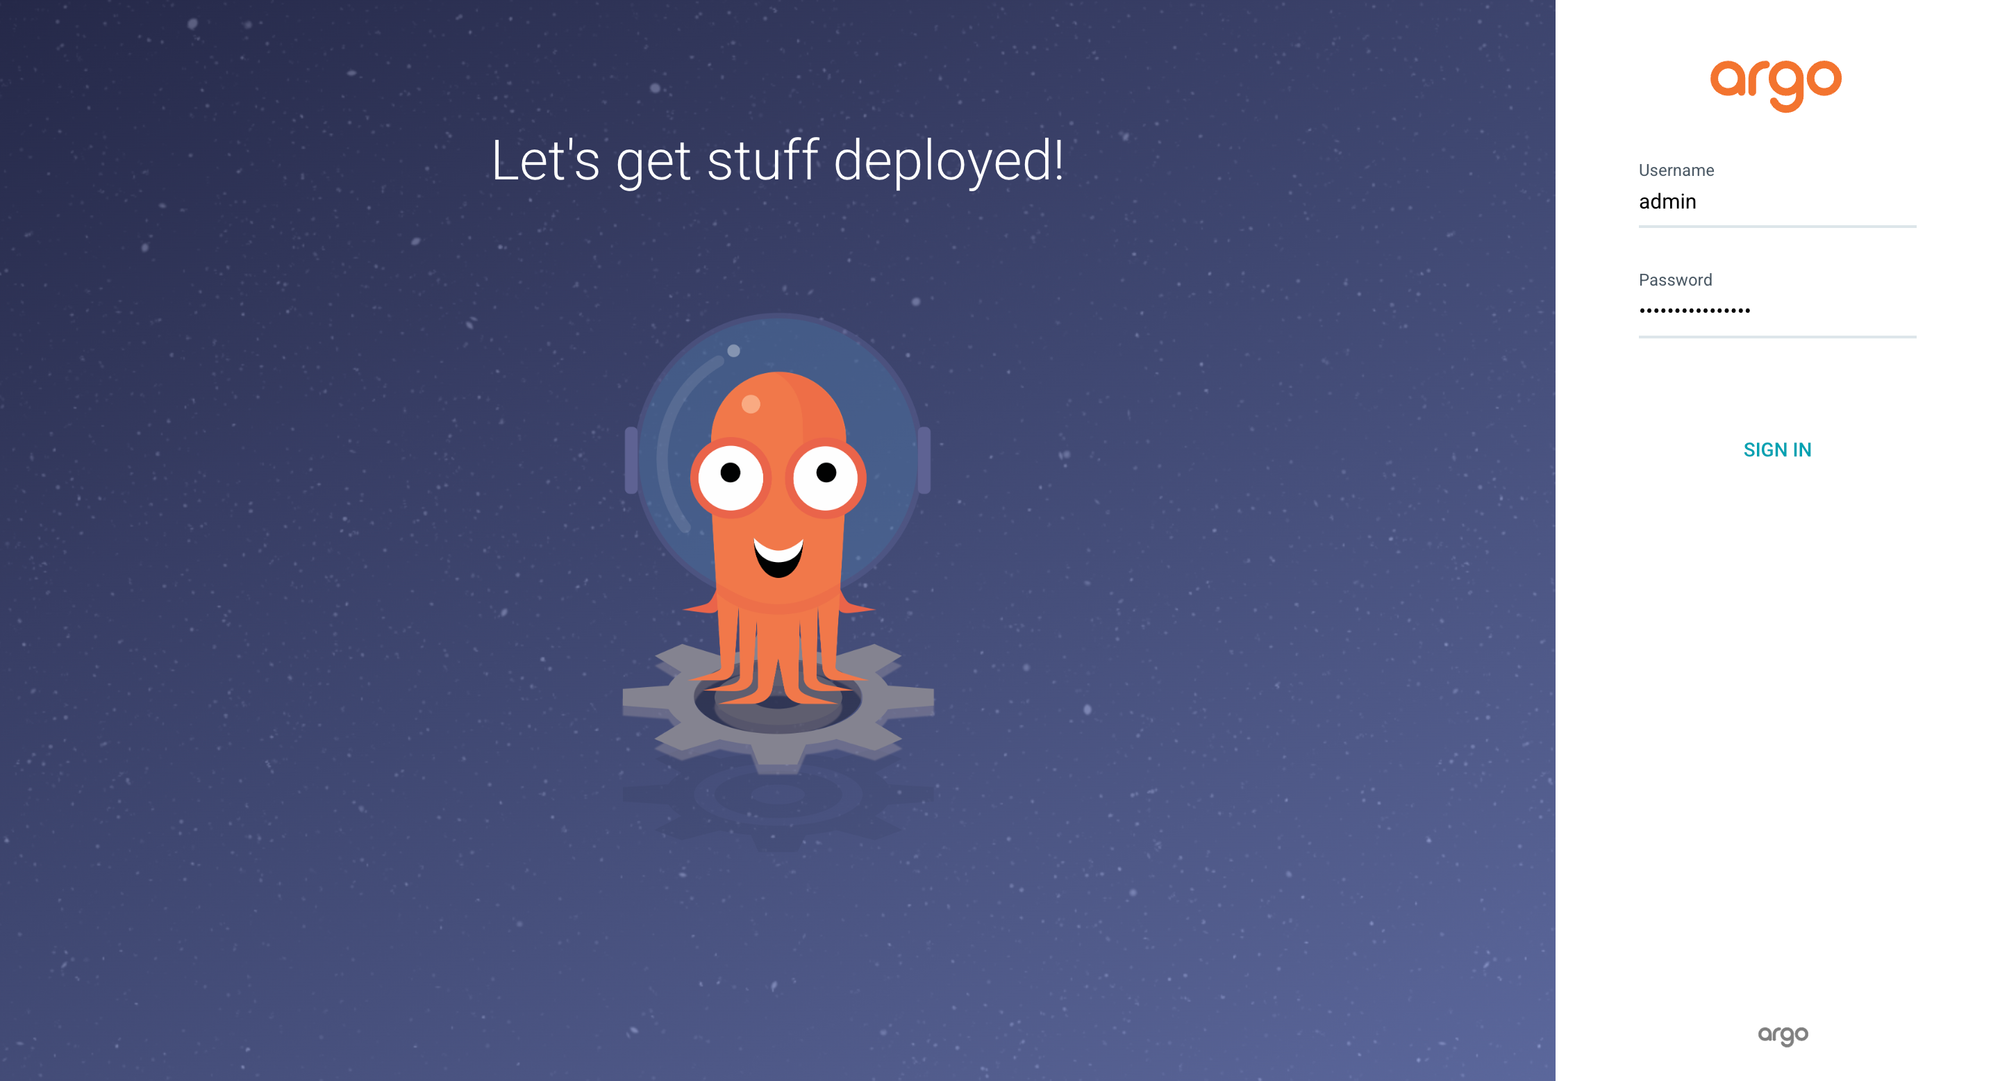
To log into the GUI, open up a web browser and go to the following URL. 127.0.0.1:56067
You should see a page like the one below. Enter the same credentials.
Deployment
Once you’re logged in via the CLI, which you did in the previous section, you can deploy an application.
There are two primary ways to deploy apps with ArgoCD:
- The CLI
- Declaratively
From a production perspective, the best and most efficient way is the declarative method using the ArgoCD CRDs.
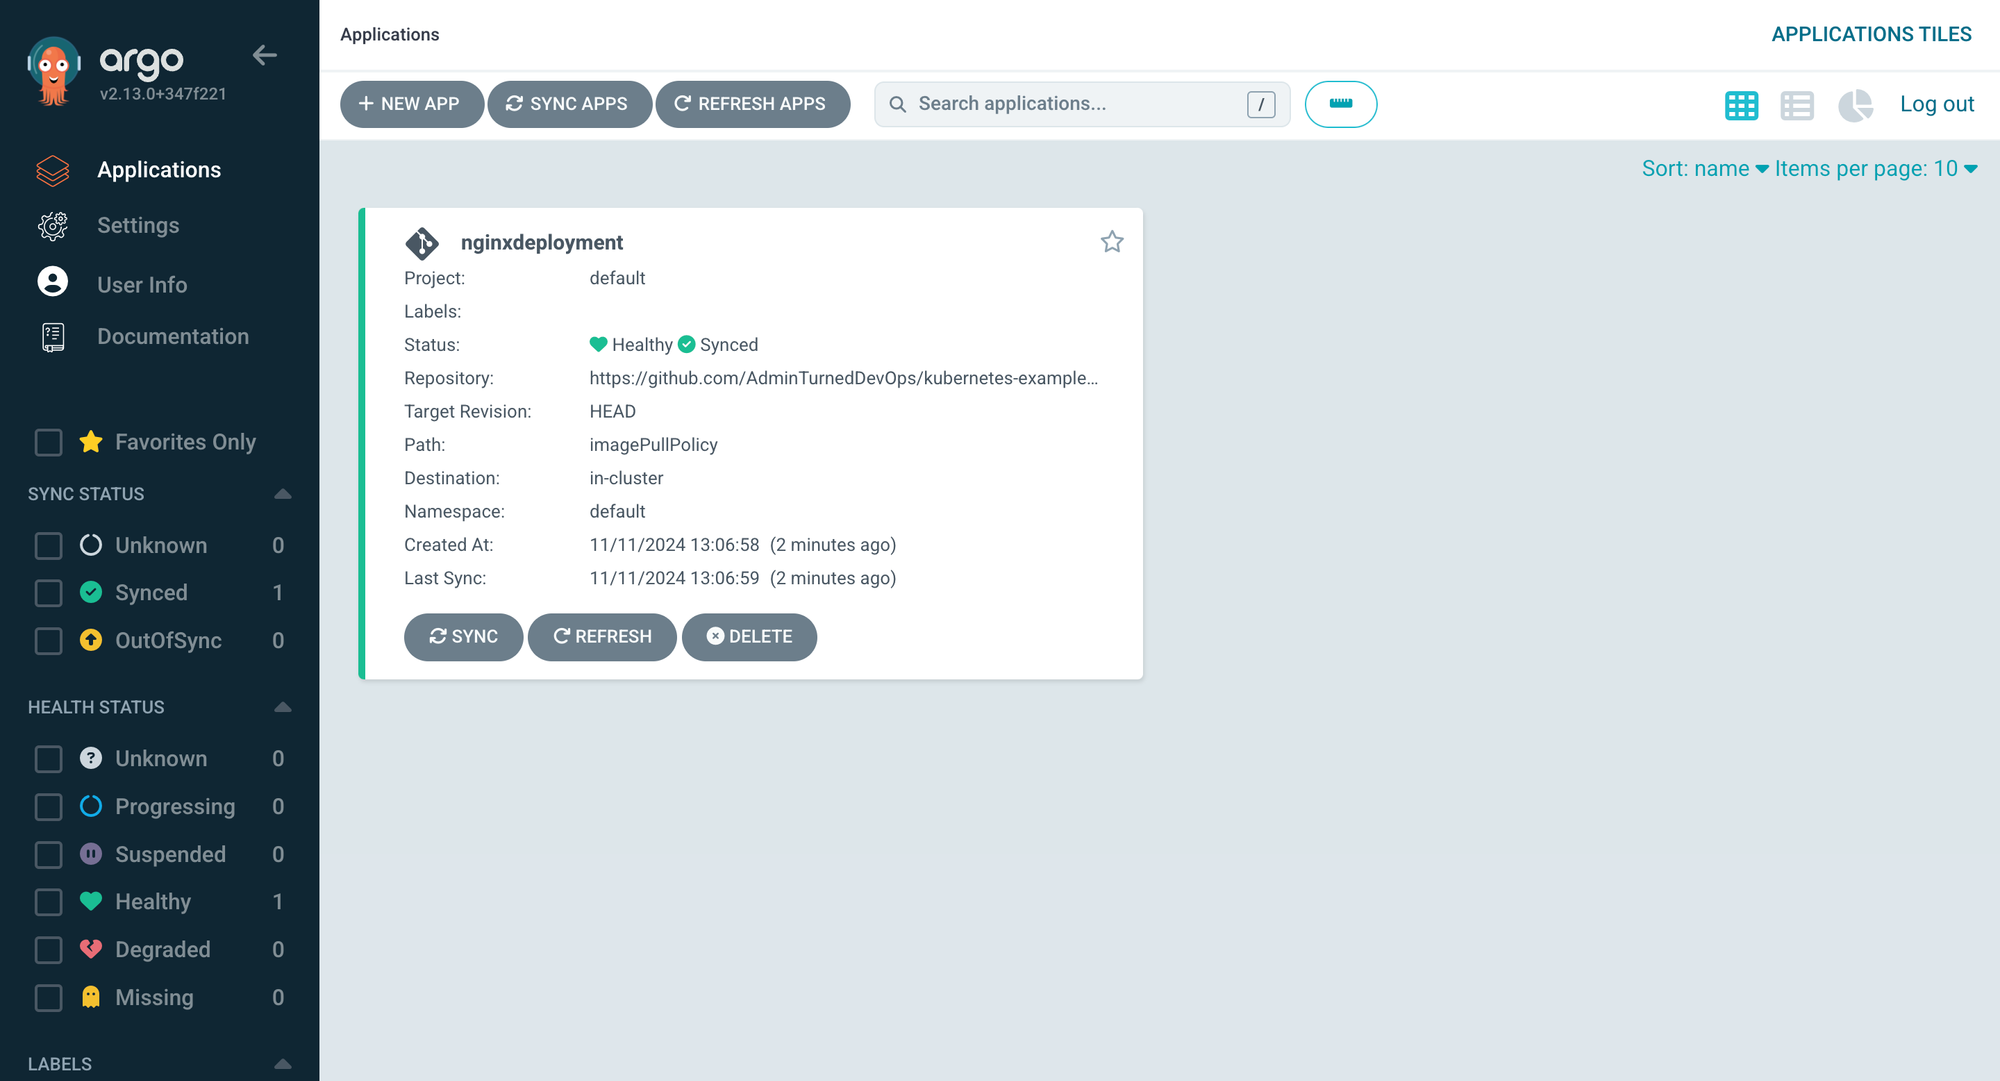
To deploy an application with the CLI, below is an example that consists of an application name and a sample repository. This will deploy an Nginx deployment to the default Namespace.
argocd app create nginxdeployment --repo https://github.com/AdminTurnedDevOps/kubernetes-examples.git --path imagePullPolicy --dest-server https://kubernetes.default.svc --dest-namespace default
The declarative method on the other hand gives you the ability to map out, in code, exactly how you want the application stack to look.
There are two primary kinds/objects when deploying for the declarative method - Application and ApplicationStack
kind: Application
metadata:
    name: nginx
    namespace: argocd
spec:
    project: default
    source:
        repoURL: https://github.com/AdminTurnedDevOps/PearsonCourses
        path: GitOps-For-Kubernetes/Section6/lab/nginx
        helm:
            releaseName: nginxtest
    destination:
        # If the app is being deployed to a remote Kubernetes cluster
        # server: "https://ip_or_loadbalancer_of_control_plane:8443"
        server: "https://kubernetes.default.svc"
        namespace: default
Once deployed, you should see an output similar to the screenshot below.
ArgoCD With Devtron
As you saw in the previous section, without even setting up things like SSO, the installation, configuration, and deployment process is several steps. Although this is fine and not out of the ordinary, you can do it in an easier way with Devtron.
Installation
First, add the Devtron Helm Chart.
helm repo add devtron https://helm.devtron.ai
Ensure that it’s updated.
helm repo update devtron
Next, install Devtron and set the two settings for CI/CD and to ensure that ArgoCD is enabled.
helm install devtron devtron/devtron-operator \
--create-namespace --namespace devtroncd \
--set installer.modules={cicd} \
--set argo-cd.enabled=true
That’s it, literally. There’s nothing more that you have to do to get ArgoCD installed and configured.
Please note that you cannot use the Helm Chart above if ArgoCD is already installed in your environment as of today.
You can retrieve the Devtron Service (it’s deployed as a Load Balancer) with the following command and you’ll see the devtron-service service.
kubectl get svc -n devtroncd
To log into Devtron, retrieve the password via Kubernetes secrets using the following command.
kubectl -n devtroncd get secret devtron-secret -o jsonpath='{.data.ADMIN_PASSWORD}' | base64 -d
Configuration
Log into Devtron with the Kubernetes service IP address and the password that you received in the previous section.
Once logged in, navigate to Devtron Stack Manager and there you can observe CI/CD and ArgoCD are already installed.
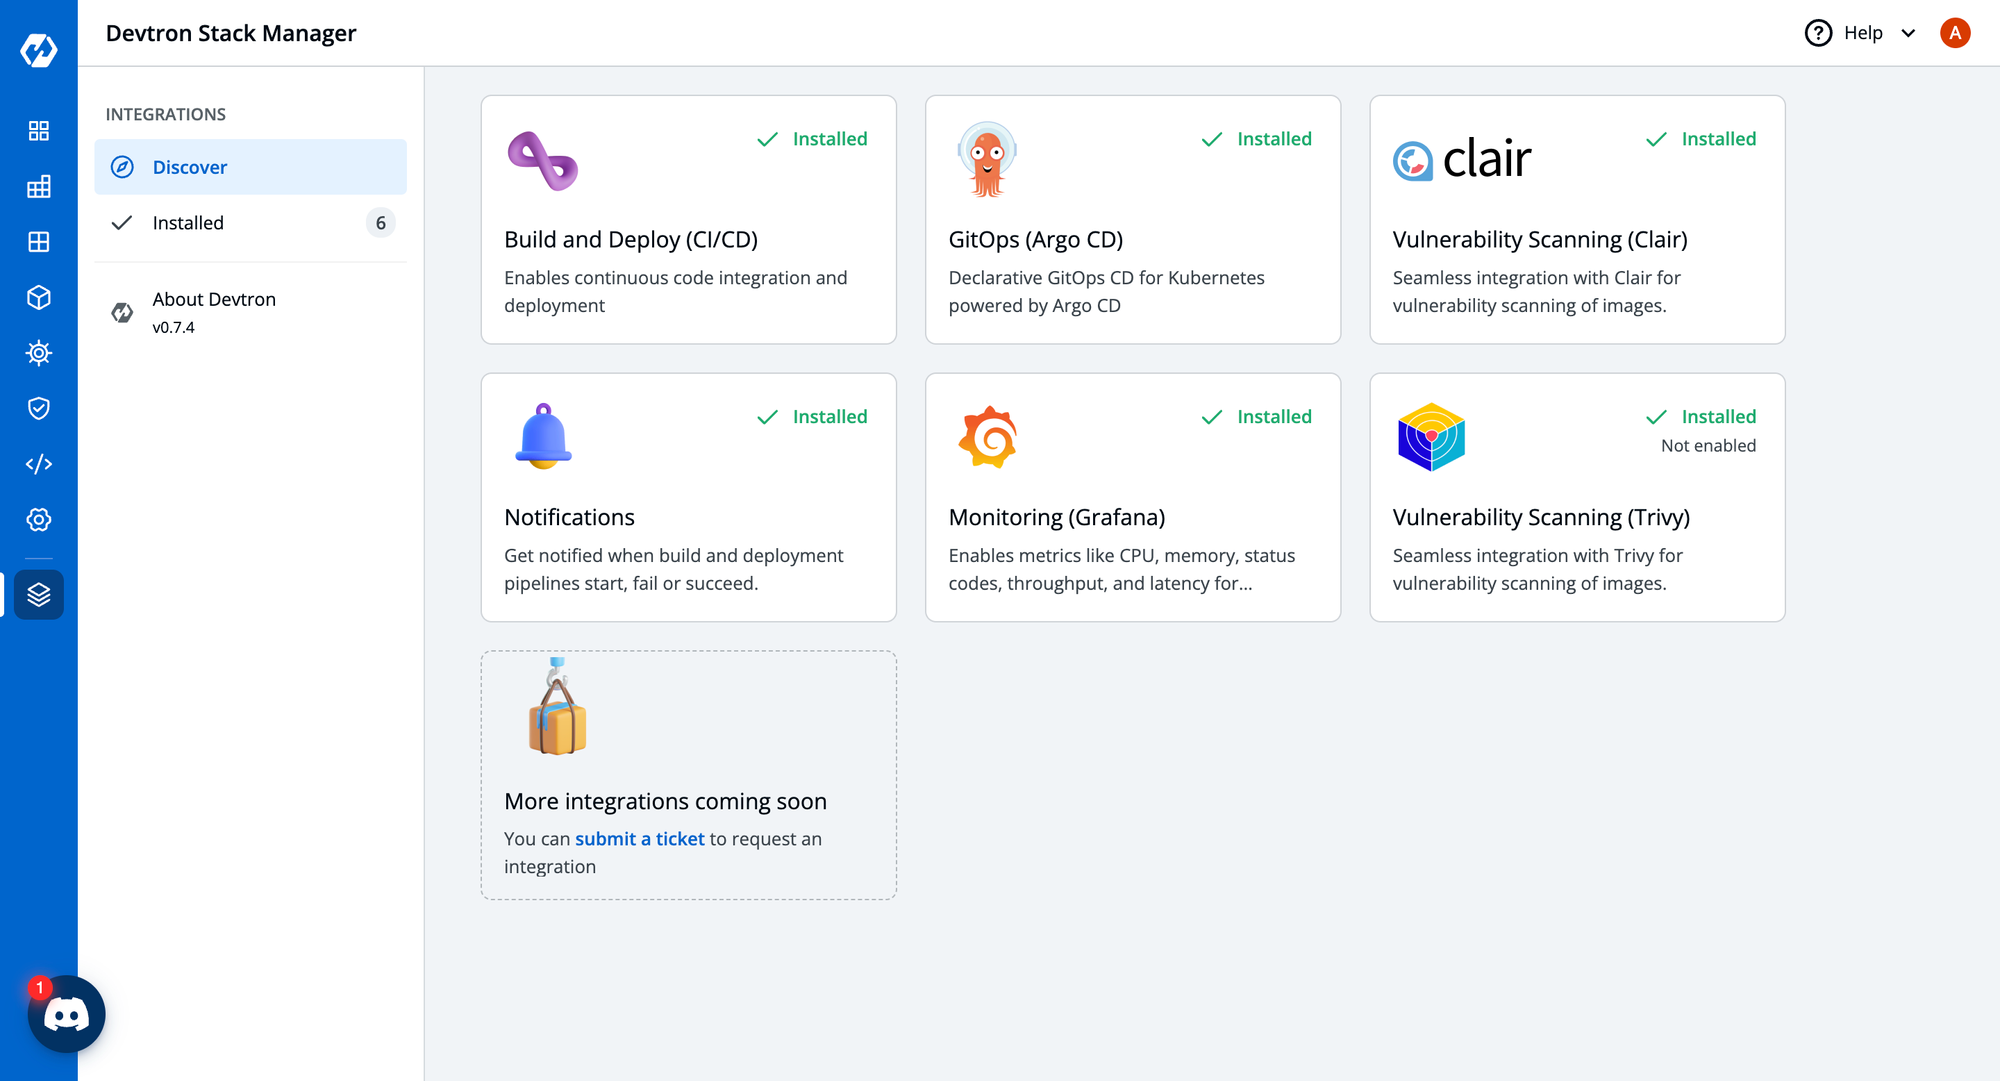
There’s no configuration needed.
Closing Thoughts
Depending on which option you choose, you’ll still have to do things like prepare applications for deployment via GitOps. The thing is that with Devtron, you don’t have to go through the step-by-step manual configuration. This is really where the value add is. It’s still ArgoCD underneath the hood, but the steps that can be taken care of by someone else (or by another product) are abstracted away from you.
If you have any queries, don't hesitate to reach out to us. Join the lively discussions and shared knowledge in our vibrant Discord Community.
